Canassic Chrome Part II- The Initial Match
A FujiFilm Classic Chrome Smell-a-like for Canon Cameras
Introduction
After doing some research in the first part, it was time to get started. Here is an overview of my process:
- Take pictures with XT-4 and Canon RP (RAW and JPEG)
- Use Lightroom to match Canon RAW to Fuji JPEG
- Use Canon Picture Style Editor (PSE) to match results from Lightroom
- Apply in Canon Digital Photo Professional (DPP) to verify profile and fine tune
I’ll be explaining steps 1 and 2 in this post. Steps 3 and 4 will be in the next post so stay tuned.
Why Lightroom?
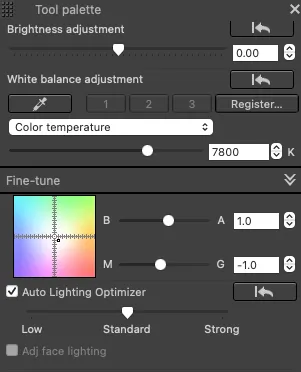
You can see in the process above, I’ll be using a few pieces of software from Canon and Adobe. Long-term, I hope to not use Lightroom. Lightroom processes files from Canon cameras a little differently than the camera would (or so I believe) and the Canon software provides some features that are specific to Canon cameras, like “Auto Lighting Optimizer”. Ideally, I would do my initial match in Canon Digital Photo Professional (v4.18.0.0, at the moment).
However, I have more experience with Lightroom and can use it quicker to edit. I am still new to all the Canon software and currently find it clunky and laggy to use. Some of this is user error, but some is just the end product of a company that doesn’t appear to invest that much in the user experience of their software.
When I have finished editing in Lightroom, I am hoping to get a basic sense of adjustments I’ll need to re-create in PSE to replicate the Classic Chrome film simulation from FujiFilm. The Lightroom adjustments are kind of “throw-away” work since I don’t intend to use it later, but I am faster in Lightroom than PSE so I think it will save time and frustration overall.
Taking the Initial Pictures
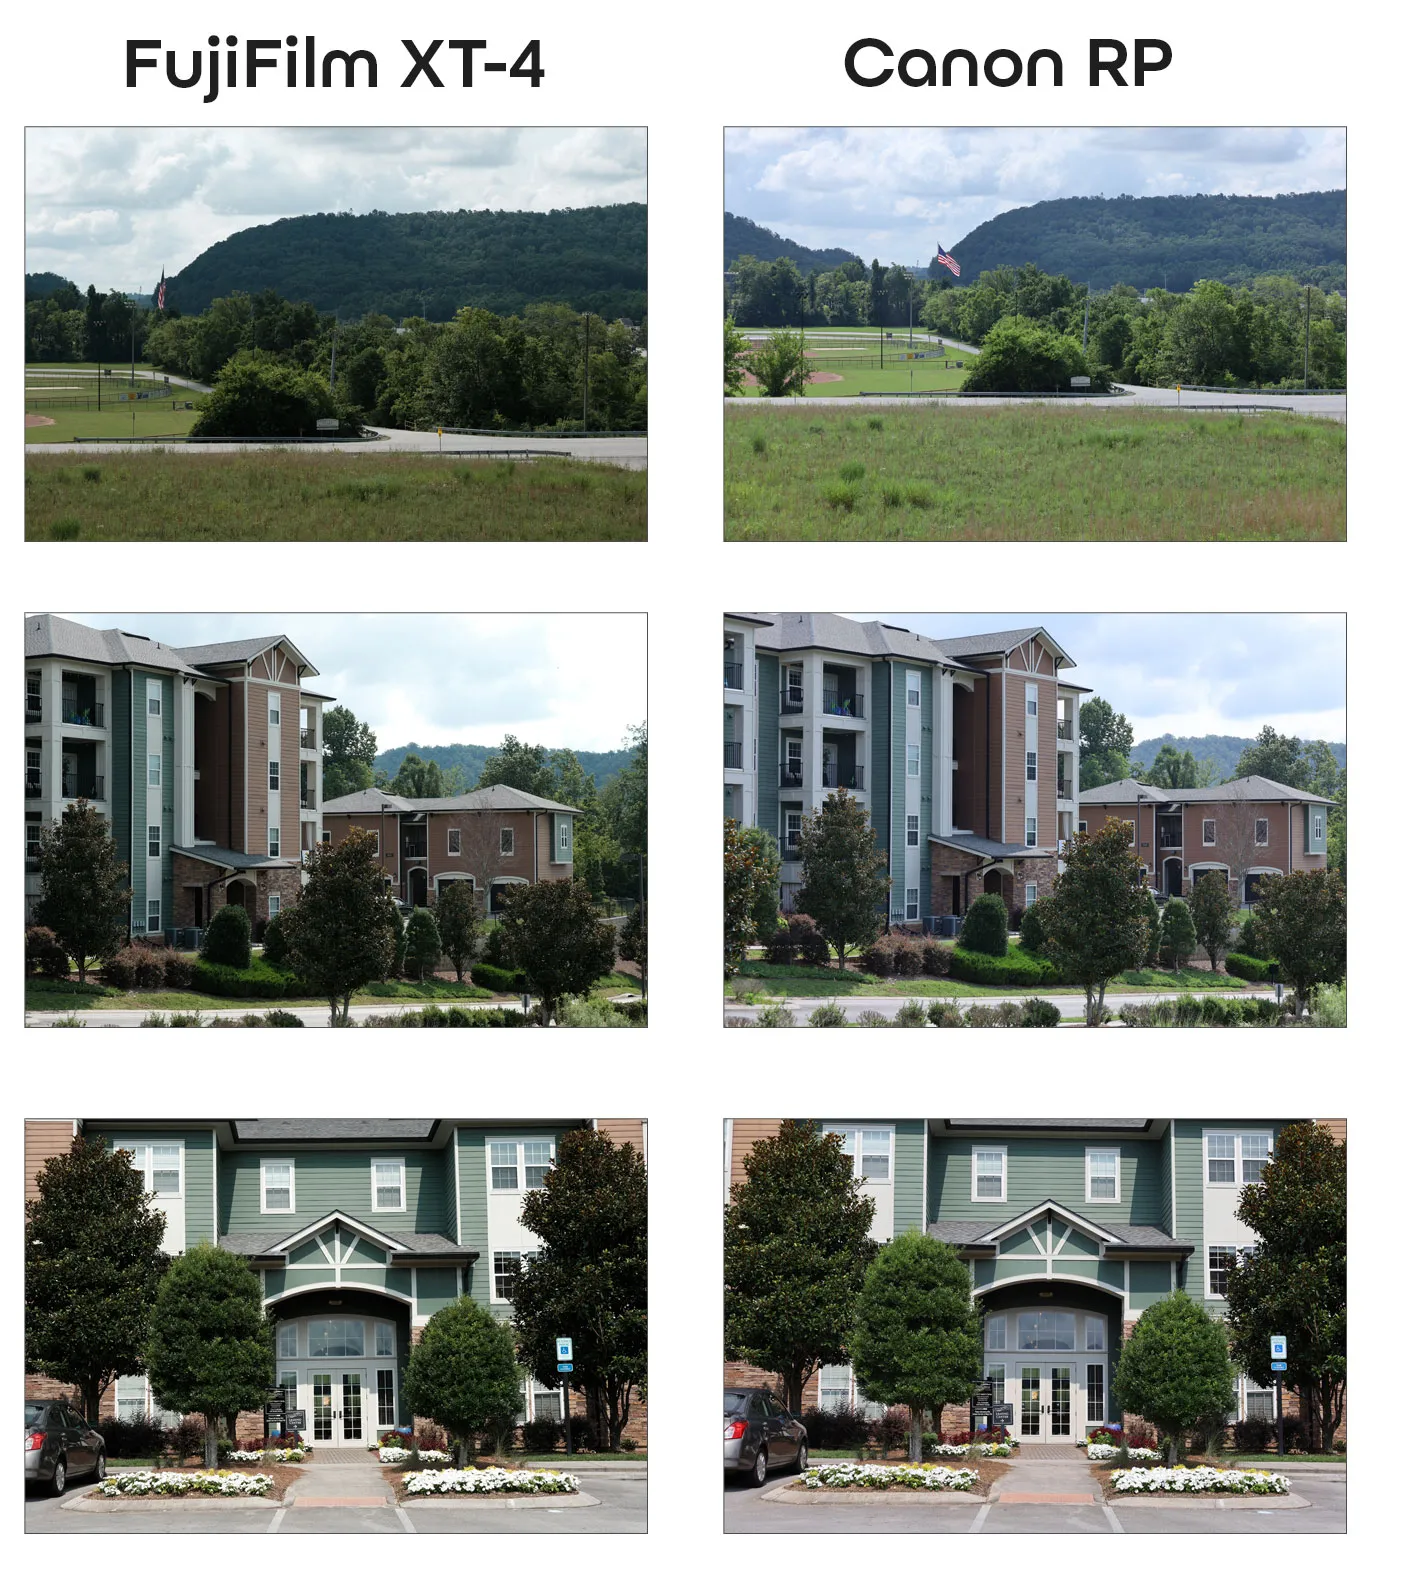
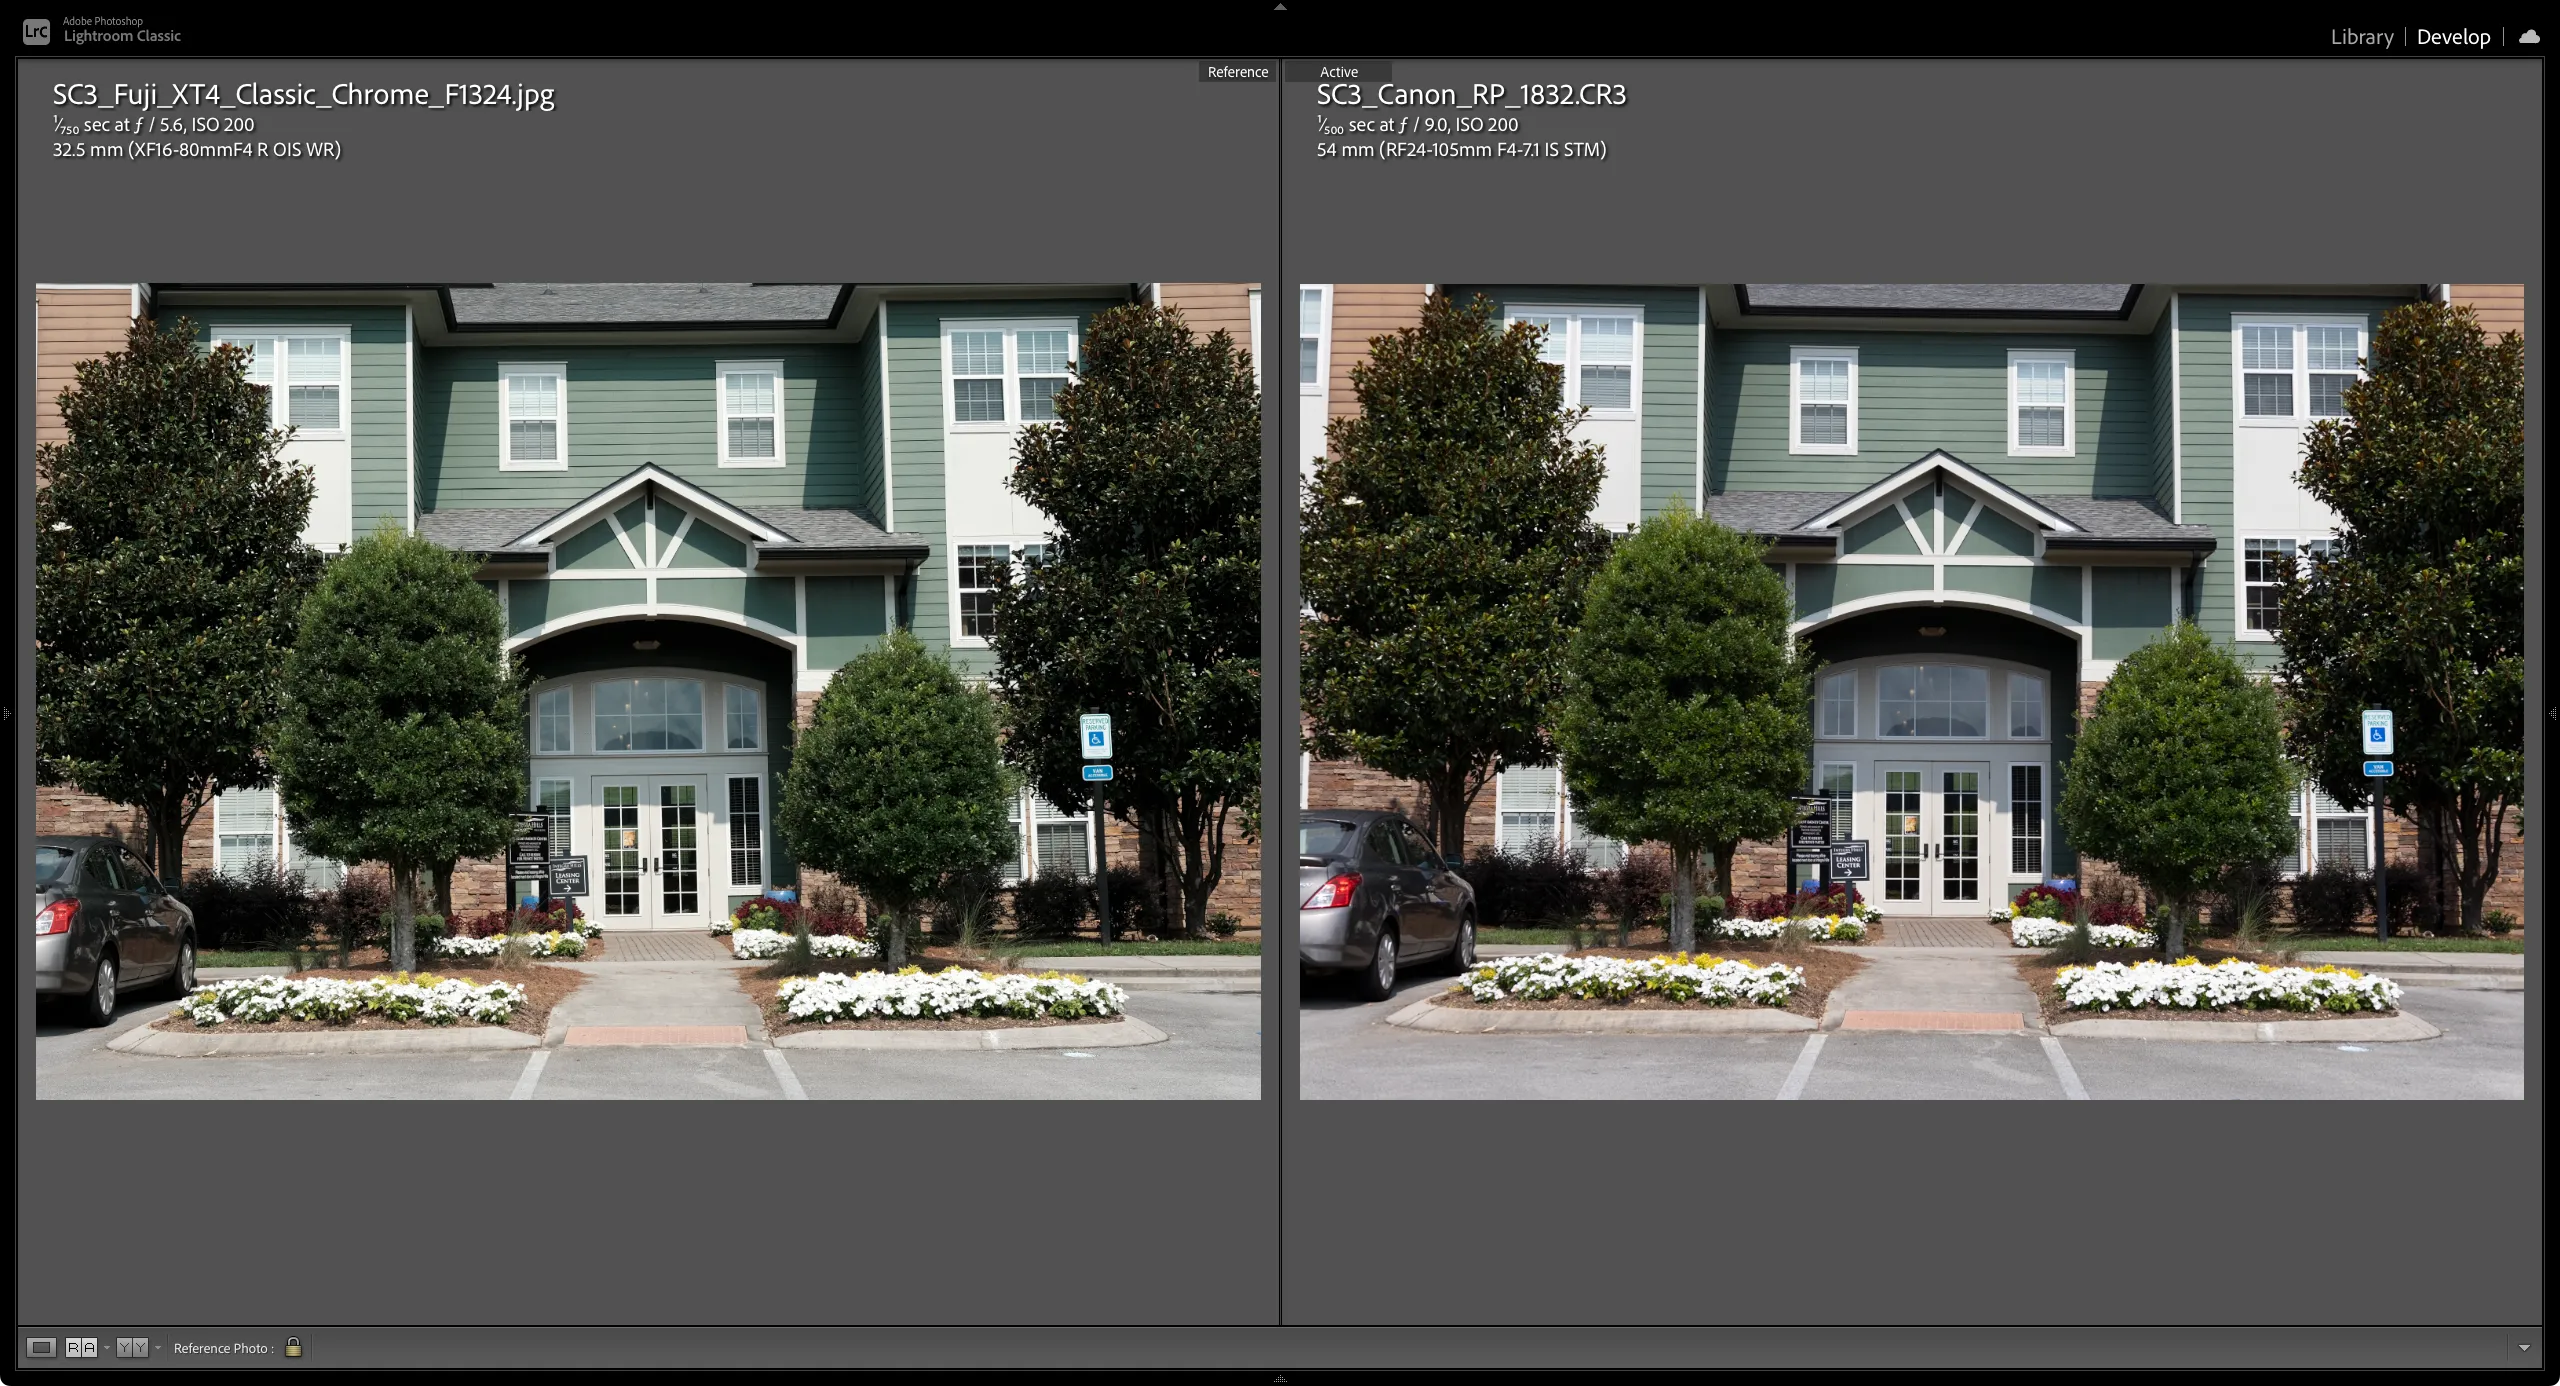
To create images that have the same style, it is helpful to start with the same composition. So off I went with my Fuji XT-4, Canon RP, and a tripod to create a few examples of the same image. While not spectacular examples of fine art, they do give me a consistent starting point of reference imagery for my initial version. Here are the example images I started with from the XT-4 and RP.
Camera Settings
I did my best to match the equivalent focal length and aperture across the images since they have different sensor sizes (APS-C in the Fuji vs. Full Frame in the Canon). Using the tripod definitely helped line them up more exactly which I will appreciate later in Lightroom.
For the FujiFilm XT-4, I set it to save both RAW and JPEG. For the JPEG, I set it to use the Classic Chrome Film simulation but set all other options to 0. I just wanted the “base” Classic Chrome without any other settings as a place to start. I also set the White Balance to Auto which I mention here to say that I should have set both cameras to a consistent temperature. It would have just made the images across both cameras more constant.
For the Canon RP, I also set it to save both RAW and JPEG. For the JPEG, I set the Picture Style to Standard and left other settings to their default values. Again, I set the White Balance to Auto which means it might change from shot to shot and it may also differ from what the Fuji XT-4 uses. In the future I should set the White Balance to be constant and the same across both cameras.
Moving into Lightroom
Customize the UI
Lightroom provides a huge set of adjustments and features for editing imagery. However, only a subset of those (or approximations of those) are going to be available in Canon PSE. I don’t want to alter the image in Lightroom in a way that I can’t replicate or get close to in PSE. So the first step is to hide sections of the Develop panel so that I don’t get distracted. Luckily, Lightroom makes that pretty easy.
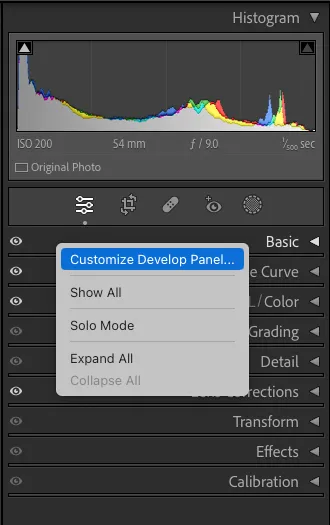
- Right-click on the sections of the Develop Panel and select Customize Develop Panel…
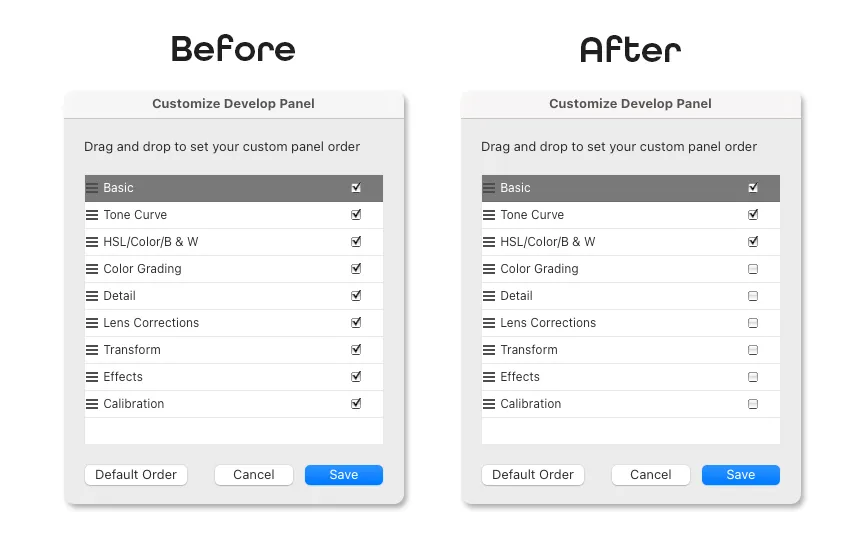
- Turn off sections that aren’t provided in PSE.
What’s remaining isn’t an exact parallel to what is provided in PSE, but it is much closer. The items I have turned off are:
- Color Grading
- Detail
- Lens Corrections
- Transform
- Effects
- Calibration
This mostly leaves some basic tone adjustments (tone curve, brightness, saturation, etc.) and the ability to do some basic color adjustments. Again, I don’t want to do a bunch of things I can’t copy in PSE.
Load Reference Image
Another great feature of Lightroom is that it can load a reference image to look at while editing a different image(Spoiler Alert: I later learned this is possible in Canon DPP). This is going to be extremely useful as I try to get the RAW File from the Canon RP to match the Fuji Classic Chrome JPEG.
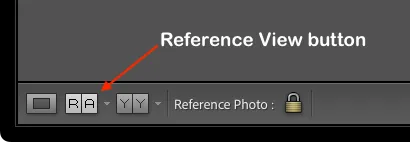
To access this, use the Reference View button in the lower bar of the Develop Module, or press Shift + R.
This will allow you to have a reference image on the left while you edit the image on the right (you can also do top/bottom instead of left/right).
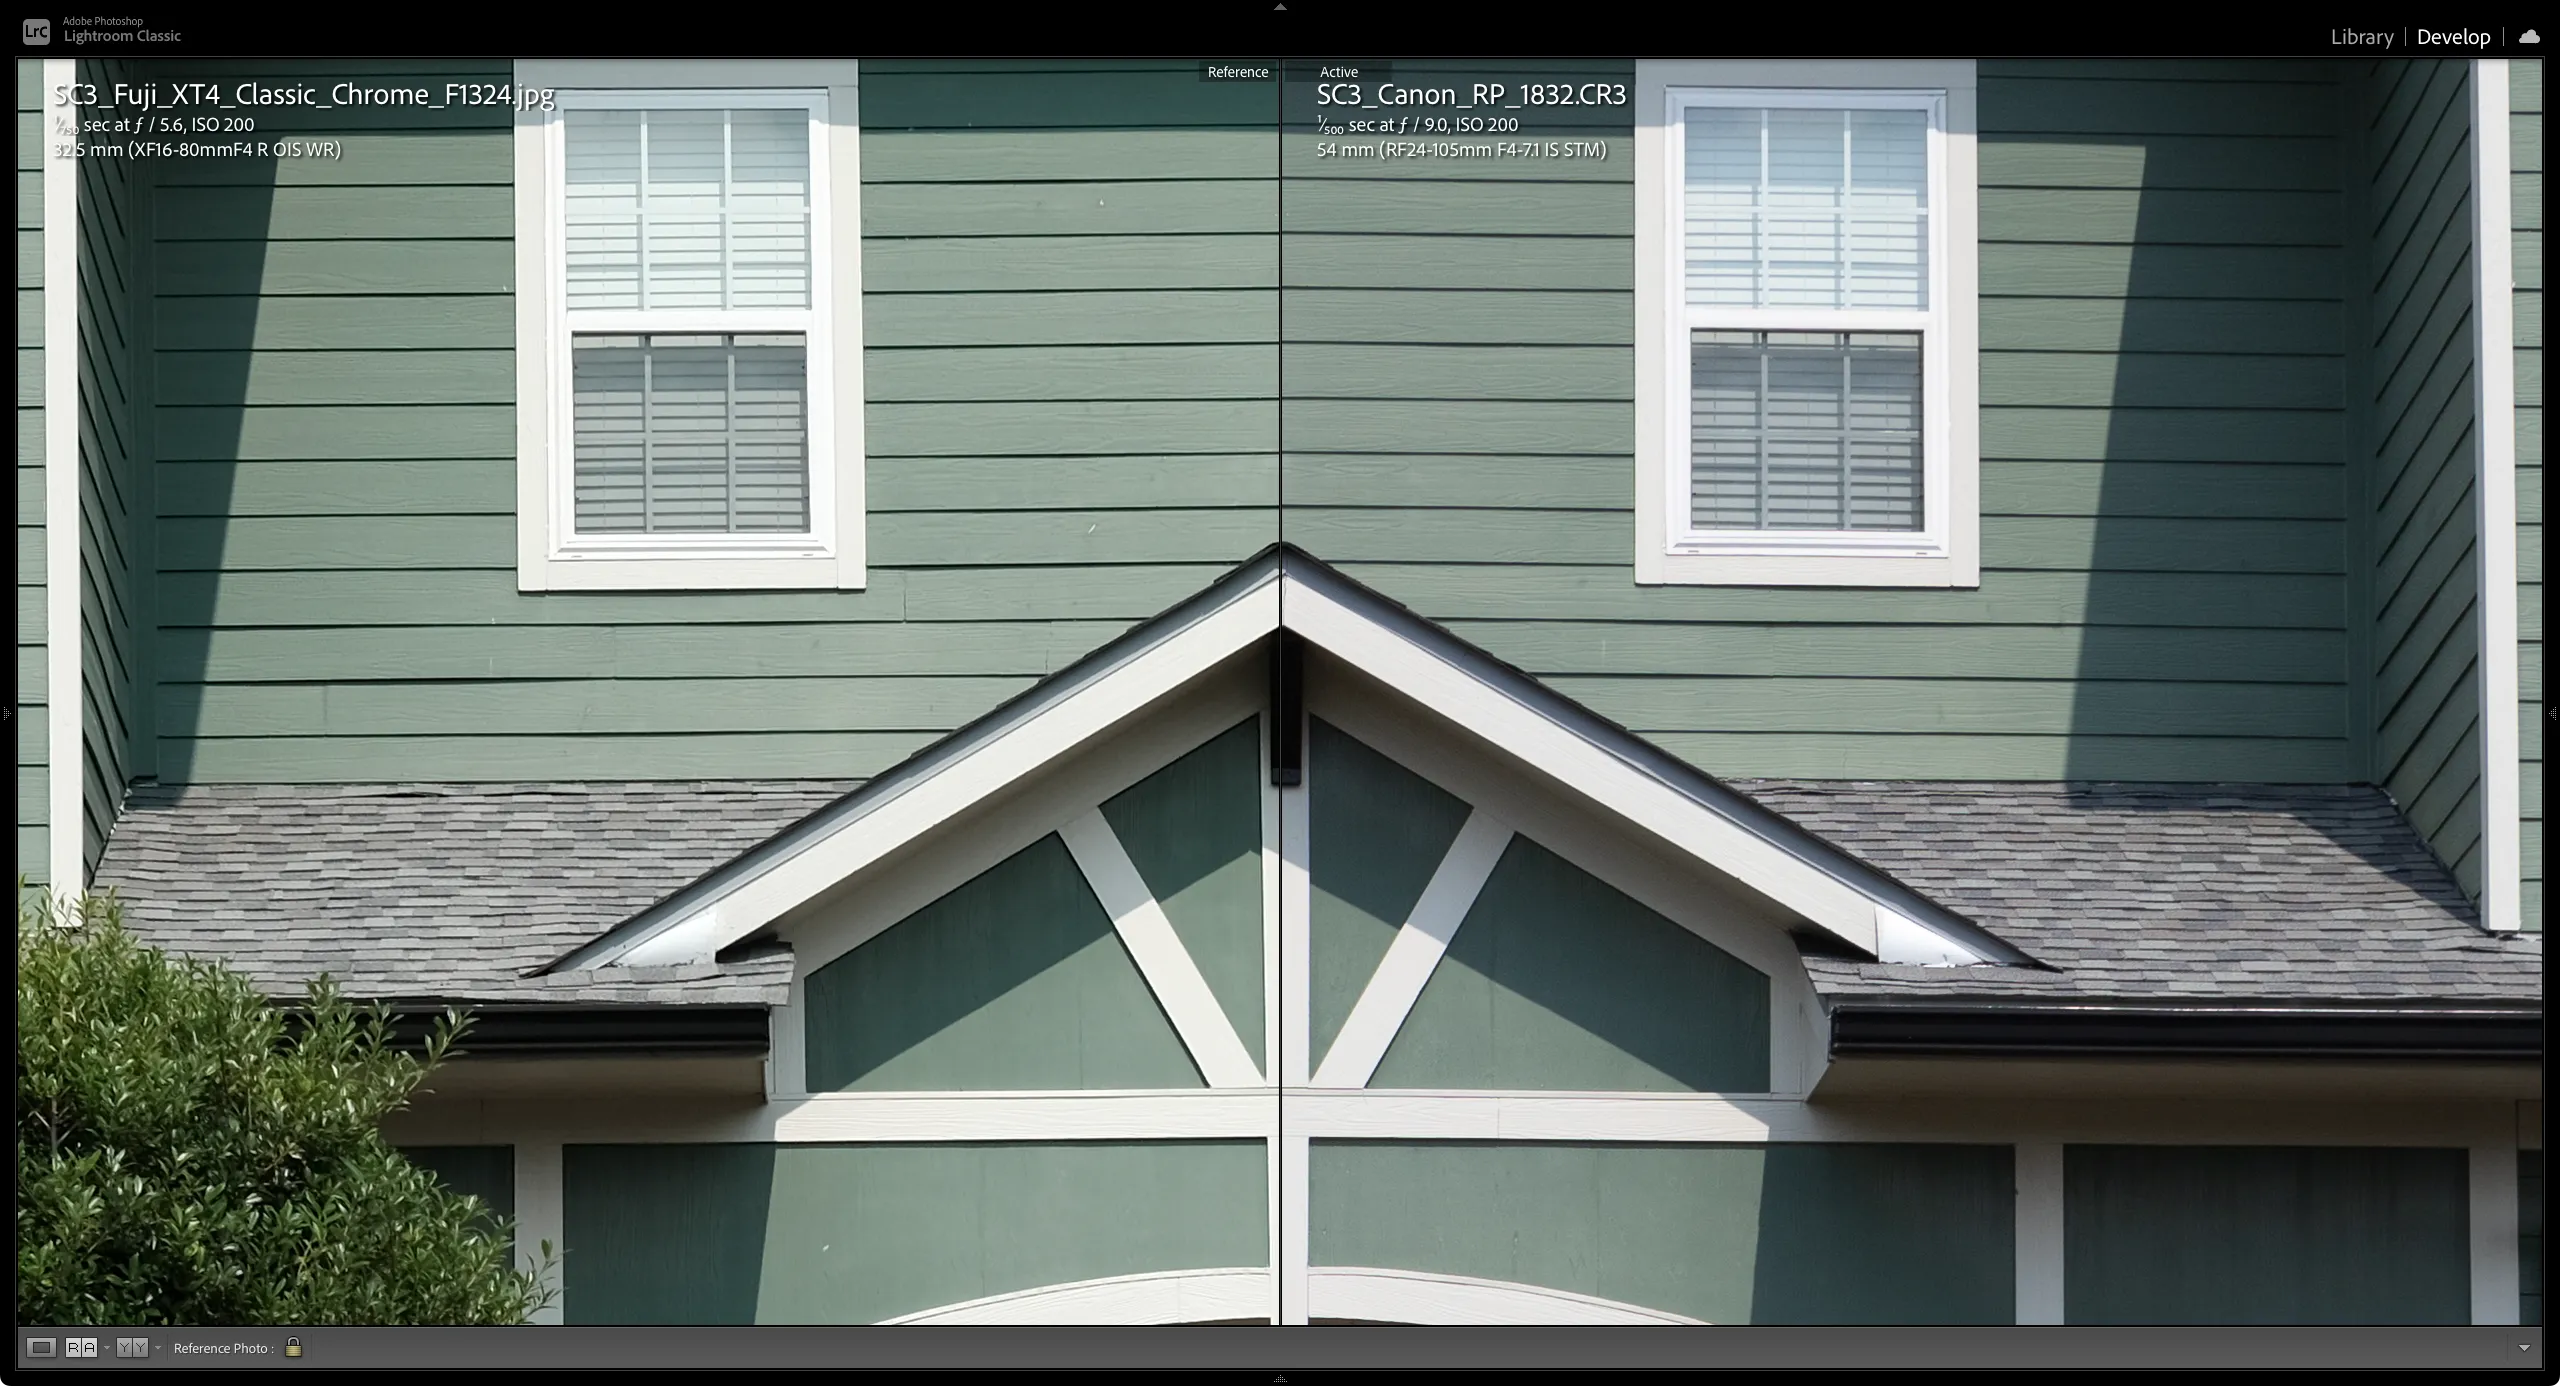
It’s really helpful when you can zoom both images and line them up for matching.
Start Adjusting
There isn’t much secret to this really. I start moving sliders and curves to get things to match as best as possible. I do have a few things I try to do and not do:
3. Start with basic things like contrast, highlights, shadows.
4. Then adjust with colors.
5. Repeat as needed.
6. Avoid sliders that don’t have a close parallel in PSE like Clarity, Vibrance, Dehaze, etc.
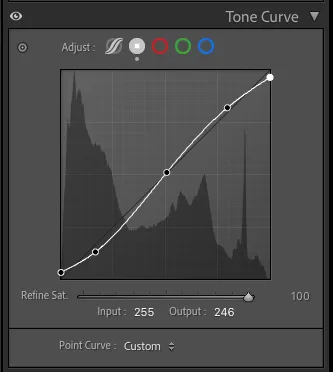
7. For the Tone Curve, only use the Point Curve.
- PSE doesn’t provide access to curves for each channel (Really wish it did).
Again, for me this is a process of try, try again. If it helps, I’ve added a video of this process that you may find helpful. There isn’t any narration, just a bit of background music.
Conclusion
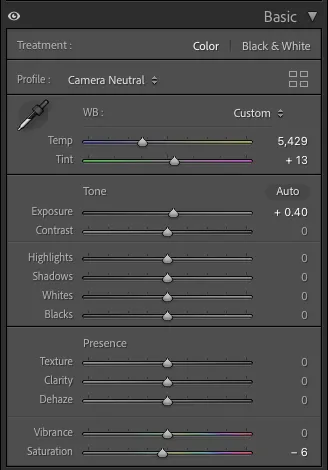
There are a few things I learned about what I need to do in PSE to replicate this style.
Basic Adjustments
- Base this picture style off of the Canon “Neutral” style
- Warm it up very slightly (this would actually be done in camera later)
- Brighten up the exposure but this could be an issue with how the image was taken and not needed to be baked into the camera JPEG settings.
- Overall, reduce global saturation. I’m not sure if I want to do this globally or per color, but I figure that out in PSE.
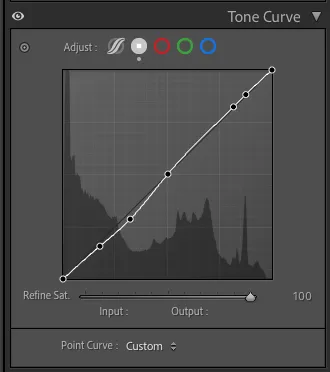
Tone Curve
Hopefully, I can copy the curve points straight over to PSE and it may be that simple…we will see. Basically, the adjustments are increasing contrast across the board, a little more severe in the shadows…just like previous research indicated.
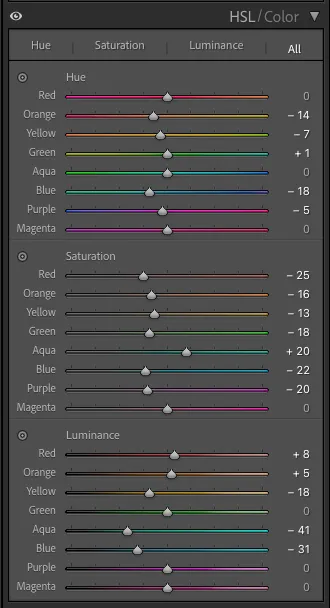
Color
PSE does color a little differently. It still uses HSL (Hue/Saturation/Luminance) but the number of colors are different and the range of adjustment is different. So, I won’t be able to directly translate it but this work still gives me a sense of which colors need to be adjusted and how much.
This leaves the work in a good spot for. I’m ready to finalize the first version of this picture style in Canon software.

